Configuration of OAuth with Azure Active Directory
This page provides instructions on how to configure your Azure Active Directory to allow Captive Portal authentication with OAuth.
- Navigate to https://portal.azure.com
- Go to Azure Active Directory submenu

3. Select the active directory you wish to use for SSO
4. Click on App Registrations > New registration
5. Enter the name for the new application, select type Web, and enter Sign-on URL enter(reply URL) - for example https://us-west1.ironwifi.com/api/signin/azure (update subdomain with the selected region or use splash for Global).
6. Then click Register

7. Copy Application (client) ID

8. In the application settings panel, click on Certificates & secrets, then add a New client secret and enter a description and expiration time. Then simply click add.

Sign in to the IronWiFi console
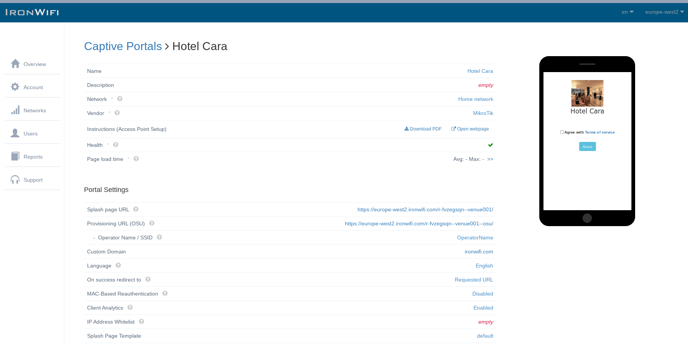
- Click on Networks > Captive Portals and create a new Captive Portal. Then click on the newly created Captive Portal

2. Expand the Authentication Providers menu and click Add New

3. Select Social Login - OAuth 2.0, provider Azure
4. Paste copied Application-ID (Client ID) and Secret Key (Client Secret Value), then click create

