How to configure authentication using Okta credentials (SAML)?
This page explains the configuration of Okta (SAML) in conjunction with IronWiFi Captive Portal.
1. Navigate to admin Okta console https://login.okta.com/
2. Go to the Applications > Applications /search for IronWiFi
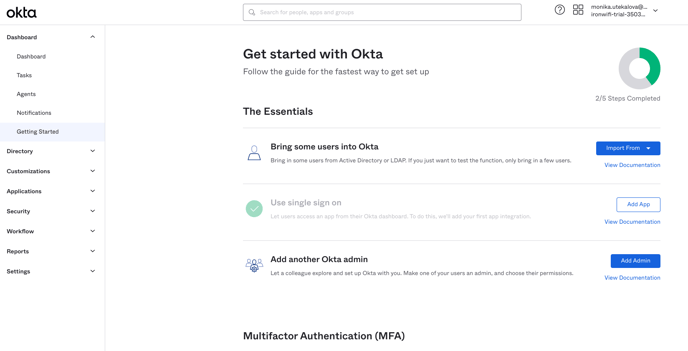
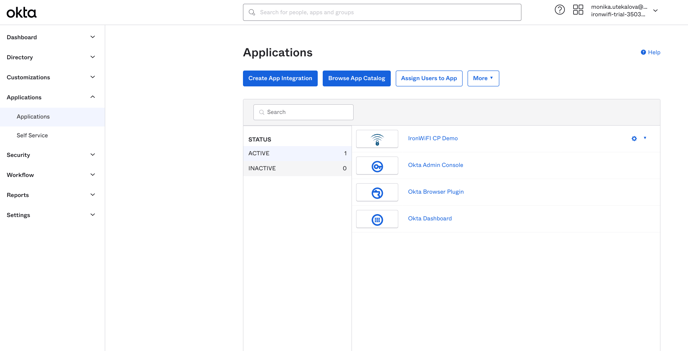
3. Click Add and open IronWiFi application
4. Go to the General Settings and configure>
- Application label - IronWiFi CP Demo (or whatever you wish)
- Do not display application icon to users - Disabled
- Do not display application icon in the Okta Mobile App - Disabled
Click Save.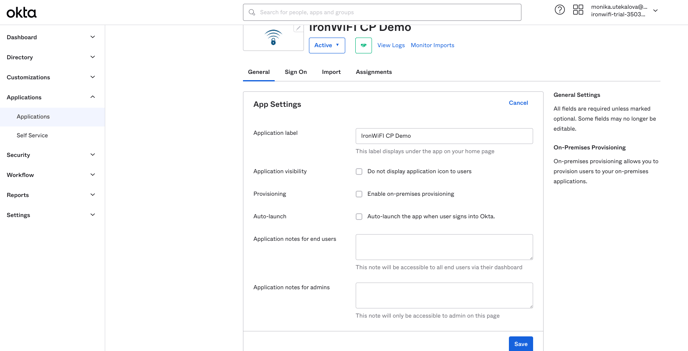
5. Go to the Sign On advanced settings > configure(you need to replace the automatically added value)
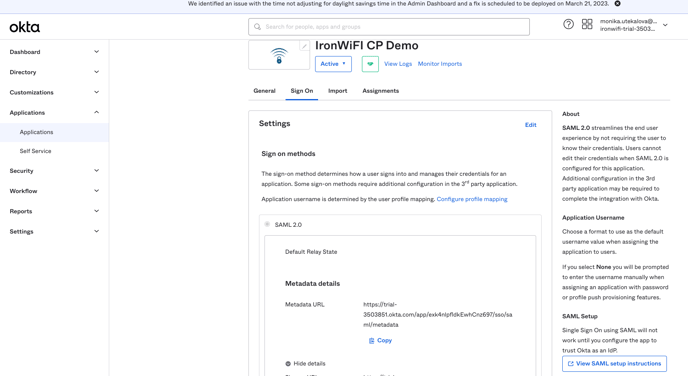
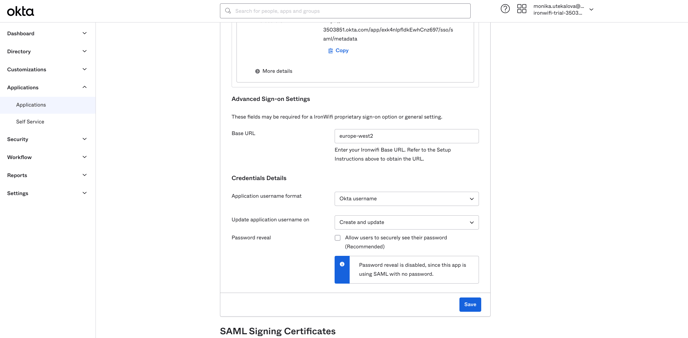
Base URL - splash (depending on your region, global - splash, europe-west1 - europe-west1...etc., you should only put your region there, as shown in the screenshot)
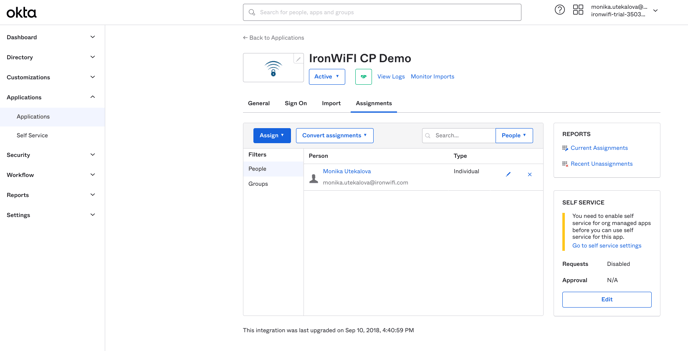
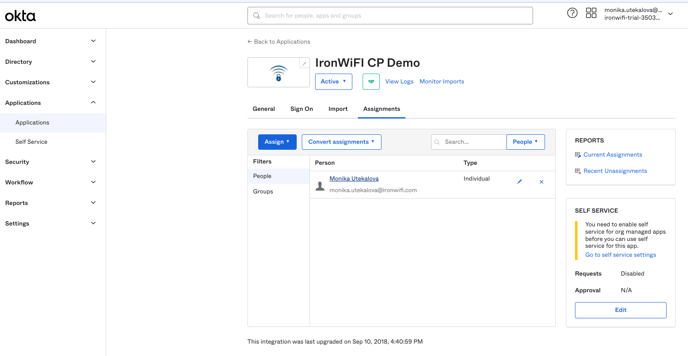
6. Go to the Assignments settings and assign the newly created application IronWiFi CP Demo to your users and click Done.
- .oktapreview.com
- login.okta.com
- .okta-emea.com
- op1static.oktacdn.com
- oktacdn.com
- can be found in the url once you log in to your okta account
The configuration is now complete.
IronWiFi Console Setup
1. Go to the IronWiFi console
2. Go to Networks > Captive Portals > Click create New Captive Portal
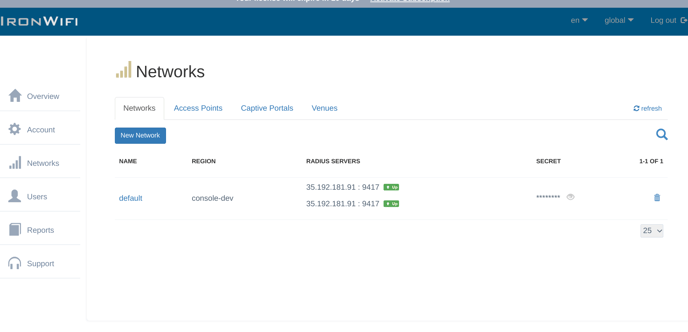
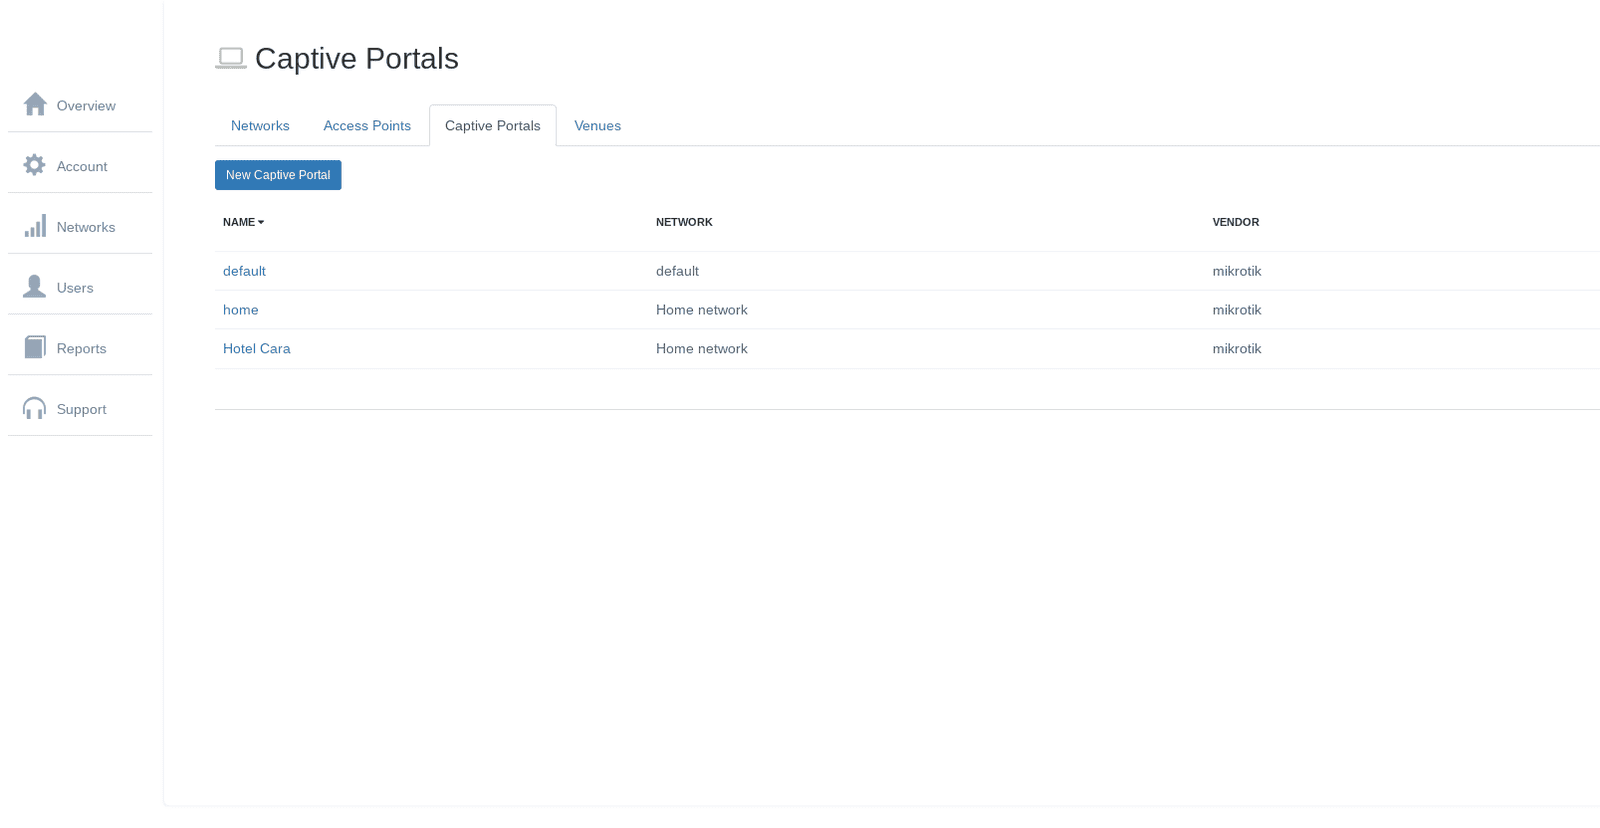
3. Scroll down to Authentication Providers section > click Add New
4. Choose method SAML 2.0 Single Sign-On > Provide information from IronWiFi application in Okta(Sign On Settings)
.png?width=688&height=409&name=35.189.111.2%20(24).png)
5. Provide your SSO URL(Sign On URL) EntityID(Issuer), Certificate and NameIDFormat.
Click Create.
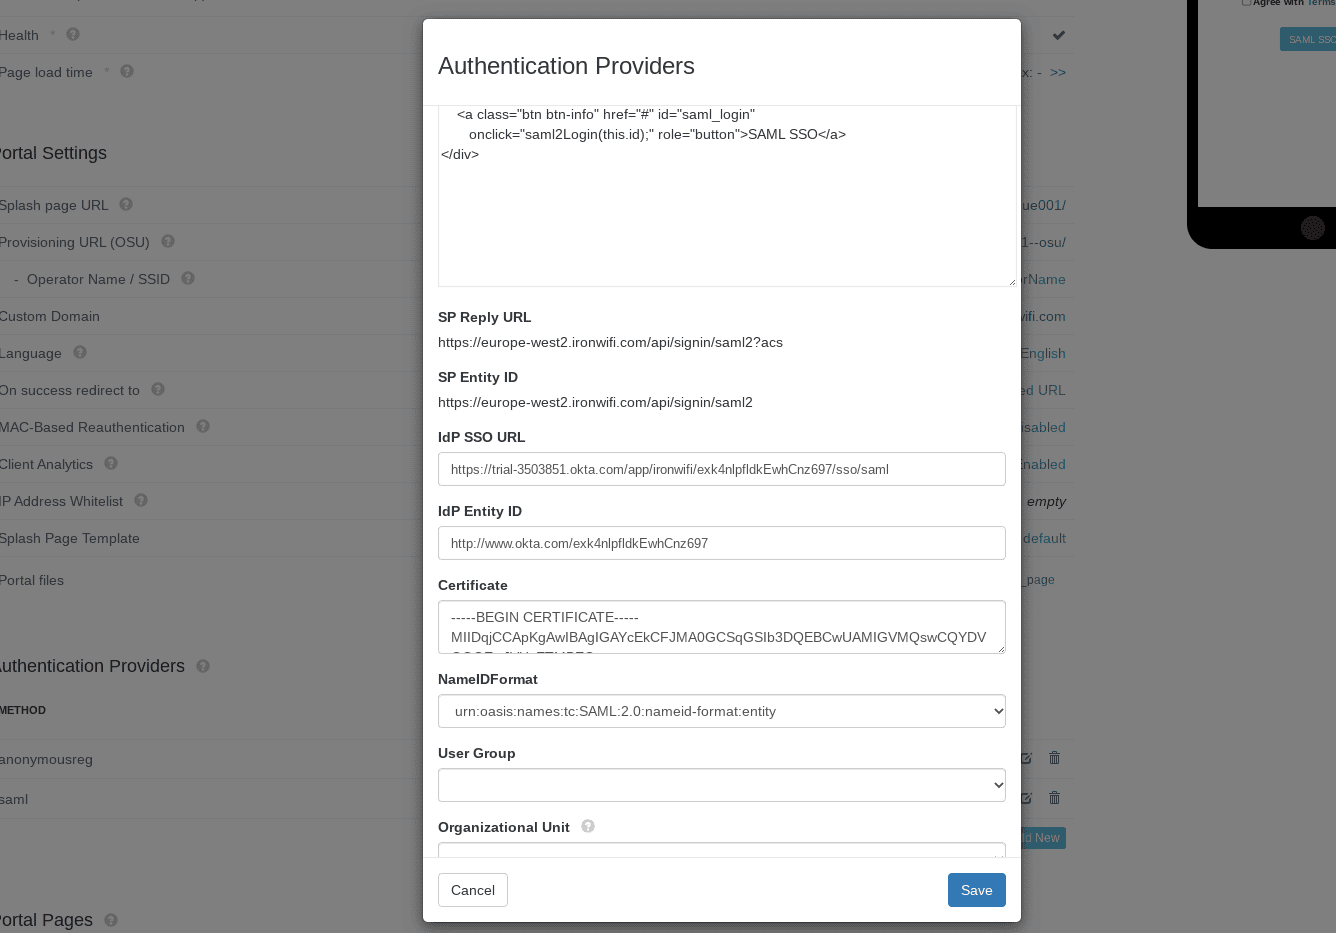
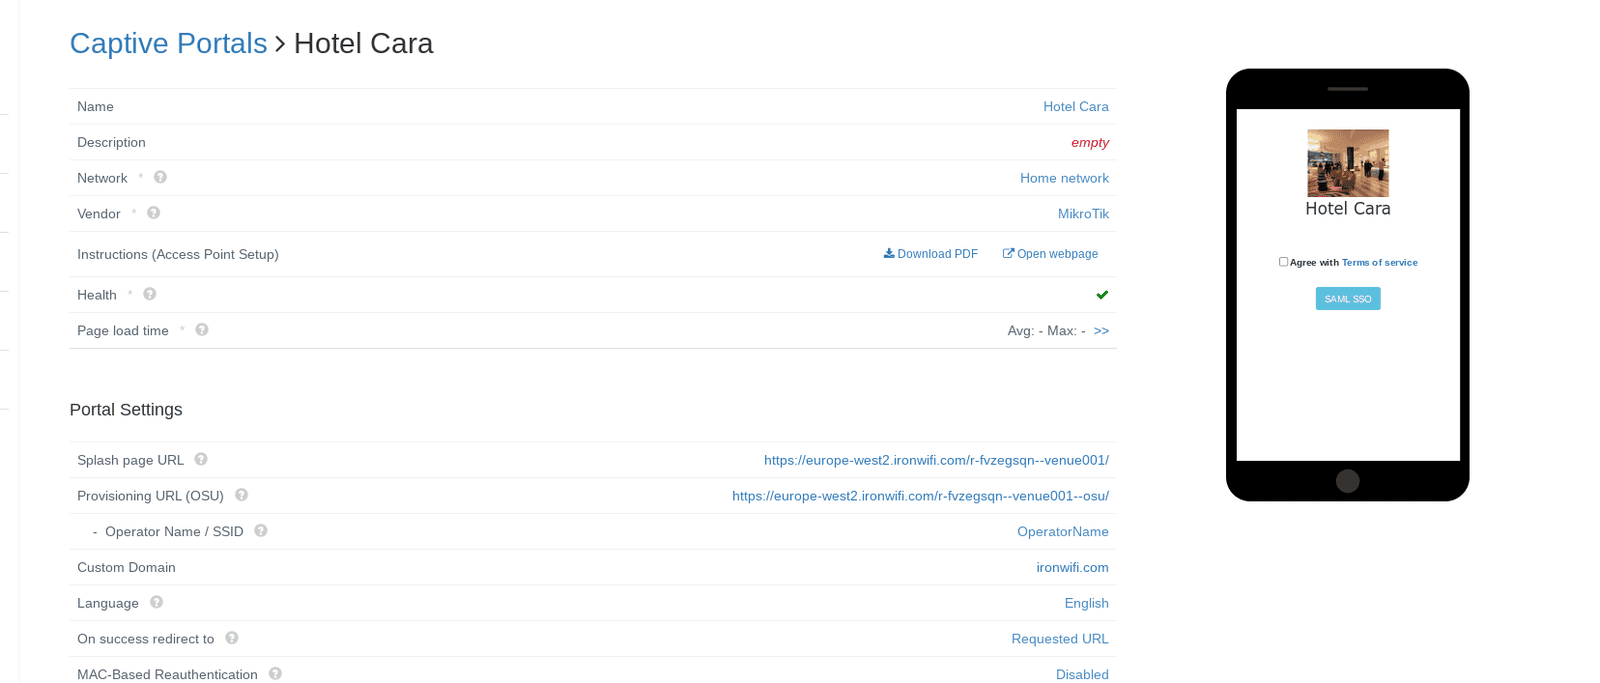
6. Scroll up and test your SAML SSO with Okta
