Configuration of SCEP - protocol that simplifies certificate deployment
The Simple Certificate Enrollment Protocol (SCEP) is a protocol that allows devices to easily enroll for a certificate by using a URL and a shared secret to communicate with a PKI.
This is a guide for setting up SCEP with IronWiFi's new multi-tiered HSM based Certificate Authority and Microsoft Intune to provision Windows OS based devices, using user profile.
What do you need ?
- owner_id - owner id is a unique identifier of your IronWiFi account that can be found in the URL when you're logged in, it should look similar to this - abcdefg12345678 or domain-abcd1234
- region - region where your data resides and authentication requests are processed - us-east1, console, asia-northeast1, etc
-
SCEP Server URL - build the URL in this format - https://region.ironwifi.com/api/owner_id/certificates
-
IronWiFi Root CA Certificate - certificate of the new IronWiFi Root Certificate Authority. The file can be downloaded from this link
- IronWiFi SCEP CA Certificate - certificate of the new IronWiFi SCEP Intermediate Certificate Authority signing the CSR requests. The file can be downloaded from this link
- Trusted IronWiFi Radius Server Certificate - server certificate signed by a trusted CA. The file can be downloaded from this link
Due to the industry restriction that was imposed in 2020, the maximum validity period of the SSL/TLS certificates is one year (technically 398 days).
Because of that, the Radius Server Certificate will be re-issued every year and it will have to be replaced in the Intune console and pushed to the clients anually.
As an alternative, we offer Private PKI that does not have that restriction, and the Radius Server Certificate issued by it has five times longer expiration date.
You can download the certificate from this link and use it instead of the Public CA one further down in this guide. You would also need to change the Server Certificate in Networks > [your network name] > Server Certificate.
!Note! Your users must exist in the IronWiFi console or the SCEP connector's User Auto-Creation option must be enabled for this to work. We are mapping {{UserPrincipalName}} to the username in console - which is an e-mail address.
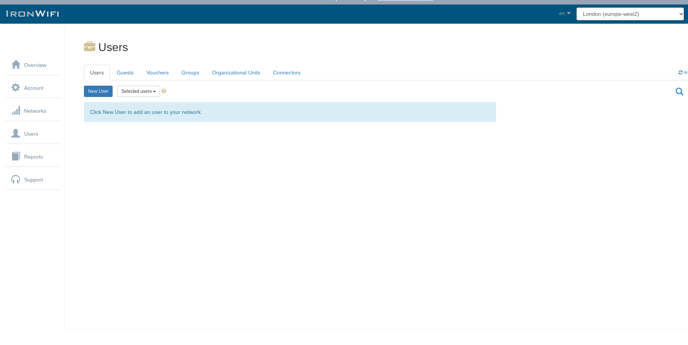
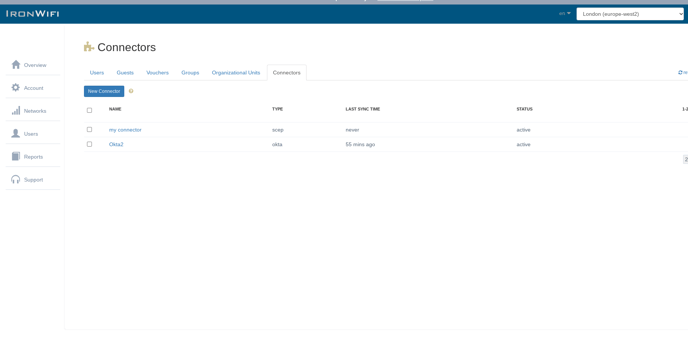
1. Sign in to the IronWiFi Management Console and create a SCEP connector - click on Users -> Connectors -> New Connector
Set User Auto-Creation to Enabled and Challenge Type to none.


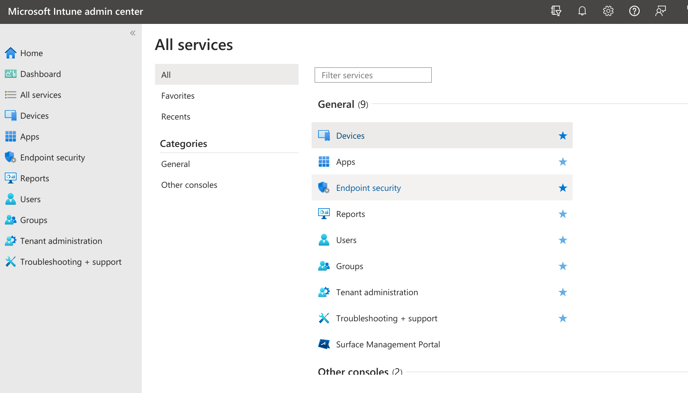
2. Sign in to the Microsoft Intune management console

3. Navigate to Devices > Windows > Configuration Profiles

4. Click Create > New Policy and choose the Platform: Windows 10 and later, Profile type: Templates and search for Trusted Certificate template

5. Add the certificate with the following configuration settings:
- Name - IRONWIFI Root CA Certificate
- Certificate file - iw-rsa-root-ca.cert.crt downloaded from the link above.
- Destination store - Computer certificate store - Root


6. Select correct Assignments and Applicability Rules:
!NOTE! Make sure that you are using USER based assignments for all profiles, if you will mix them (i.e. assign certificates to users and SCEP profile to devices), the SCEP profile will not deploy and will be stuck in pending.

7. Review and create the profile
8. Create another Configuration Profile for Trusted certificate repeating the steps from step 4 with following configuration settings:
- Name - IRONWIFI SCEP Issuing CA Certificate
- Certificate file - iw-rsa-scep-ca.cert.crt downloaded from the link above.
- Destination store - Computer certificate store - Intermediate

9. Select correct Assignments and Applicability Rules and review and create the profile as you have done when adding Root CA
10. Create another Configuration Profile for Trusted certificate repeating the steps from step 4 with following configuration settings:
- Name - IRONWIFI Trusted Radius Certificate
- Certificate file - ironwifi-radius-trusted.crt downloaded from the link above.
- Destination store - Computer certificate store - Root
Alternatively, you can use the Private PKI certificate, as described at the beginning of this tutorial.

11. Select correct Assignments and Applicability Rules and review and create the profile as you have done when adding Root CA and SCEP CA
12. Create Configuration Profile for SCEP certificate using steps from step 4, this time selecting SCEP certificate template:


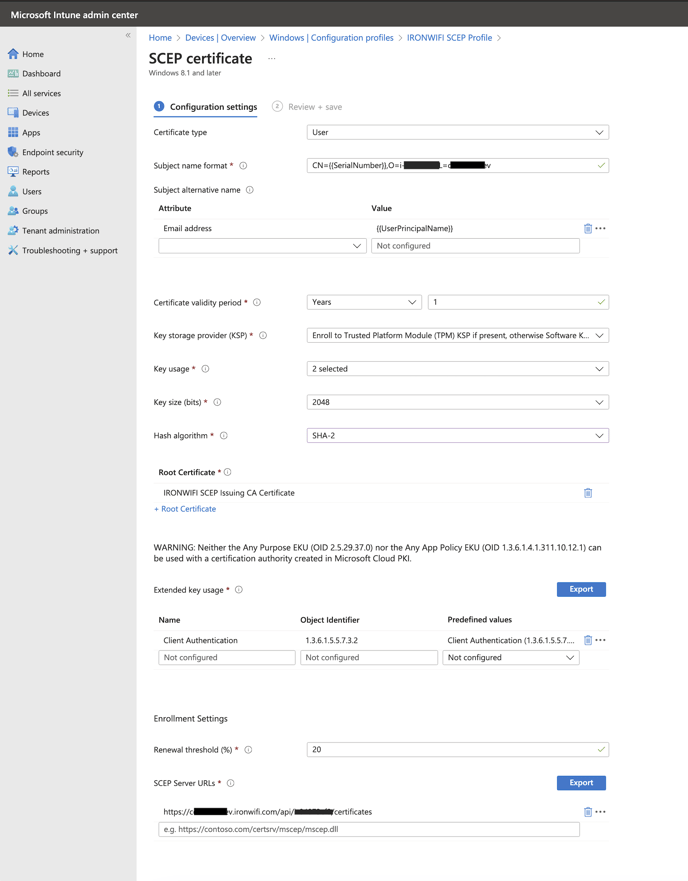
13. Use following Configuration settings:
- Certificate type - User
- Subject name format - CN={{SerialNumber}},O=owner_id,L=region
- Subject alternative name - Email address = {{UserPrincipalName}}
- Certificate validity period - Years 1 (or your desired validity period)
- Key storage provider (KSP) - Enroll to Trusted Platform Module (TPM) if present, otherwise Software KSP
- Key usage - Key encipherment, Digital signature
- Key size (bits) - 2048
- Hash algorithm - SHA-2
- Root Certificate - Select IRONWIFI SCEP Issuing CA Certificate created in step 8
- Extended key usage - Select "Client Authentication" from the Predefined Values dropdown
- Renewal threshold (%) - 20
- SCEP Server URL - https://region.ironwifi.com/api/owner_id/certificates

14. Select correct Assignments and Applicability Rules and review and create the profile as you have done when adding Root CA, SCEP CA and Trusted Radius Certificate
15. Create Configuration Profile for WiFi using steps from step 4, this time selecting Wi-Fi template:

16. Select type: Enterprise and use the following settings:
- Wi-Fi name - Your SSID
- Connection name - Your connection name
- Connect automatically when in range - Yes
- Connect to more preferred network if available - No
- Connect to this network, even when it is not broadcasting its SSID - Yes
- Metered Connection Limit - Unrestricted
- Authentication Mode - User
- Single sign-on (SSO) - Disable
- EAP type - EAP - TLS
- Certificate server names - radius.ironwifi.com
- Root certificates for server validation - The trusted certificate created in step 10
- Authentication method - SCEP certificate
- Client certificate for client authentication (identity certificate) - Your SCEP certificate profile created in step 12
- Company proxy settings - none

