Testing Azure Connector
- Go to Users -> Connectors -> New Connector
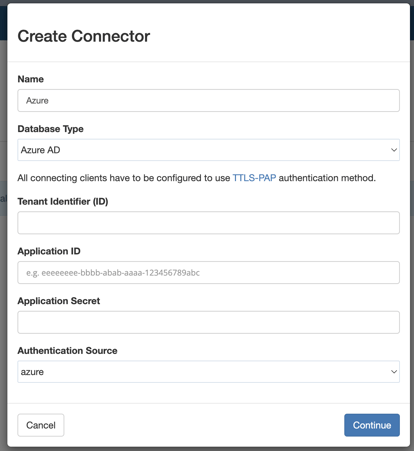
- Select Azure AD as Database Type
-
- Enter values for Tenant Identifier (ID), Application ID and Application Secret that are provided from Azure.
- Select Authentication Source as "azure".
- Click Continue
- It should redirect you to Azure website to login.
- Once login in successful, it will redirect back, click continue again.
- The connector should now be created and status will be set to "pending import".
- Connector status should move to "processing" and "active", or "failed" if there was an error.
- Once connector is set to "active", do the following steps:
-
- Go to Users, newly created users should be visible.
- Click on a user
- Verify that attributes and groups are correctly assigned.
- Go to Groups, newly created groups should be visible.
- Number of users in each group should match the ones present in Azure AD.
Deleting Azure Connector
- Go to Users -> Connectors
- Select a connector in Options click delete

- Type delete to confirm

- Select “delete users, groups” option
- Connector status should be “deleted” after some time
- Go to Users. Imported users should be deleted.
- Go to Groups. Imported groups should be deleted.
- Repeat Step 1 and create a new Connector.
- Repeat Deleting process.
- Do not select “delete users, groups” option
- Connector status should be “deleted” after some time
- Go to Users. Imported users should still be visible.
- Go to Groups. Imported groups should still be visible.